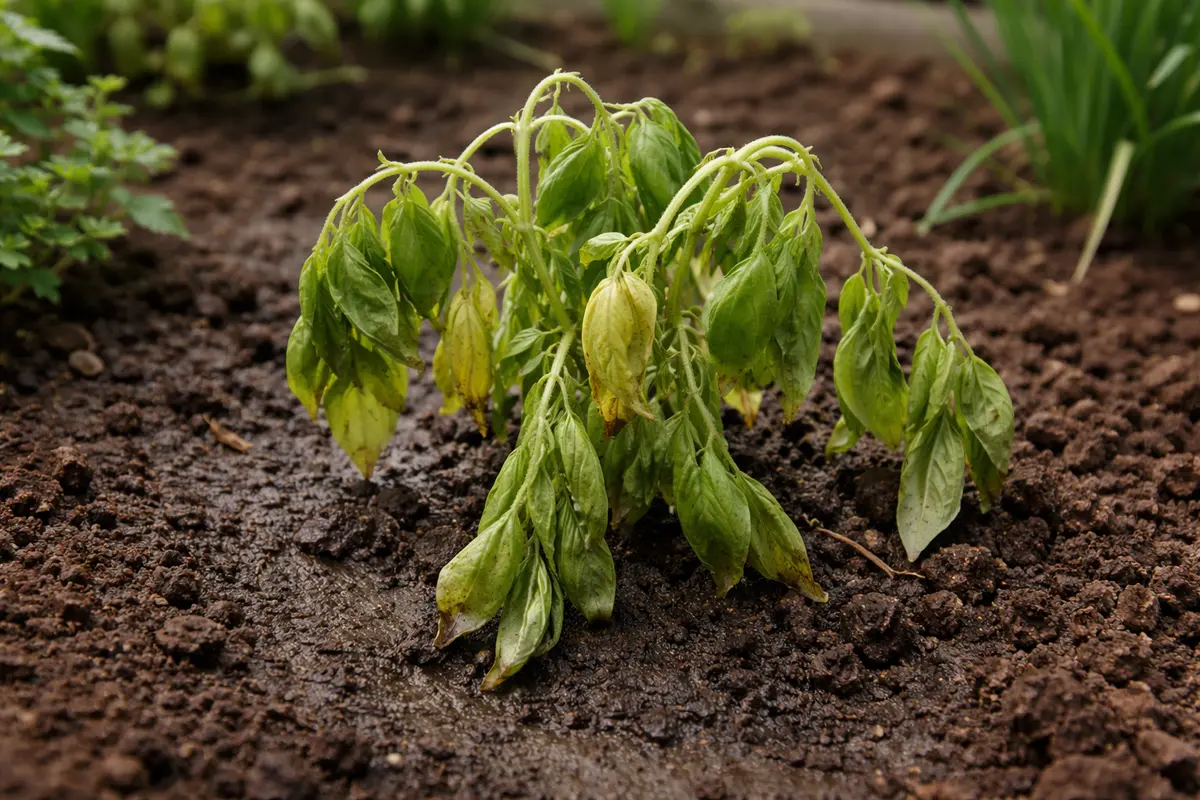
You may notice your once vibrant herbs struggling during warmer weather, with signs like drooping leaves and wilting stems, which is why you need to know why are my herbs dying after transplanting outdoors. This distress often occurs due to shock from the move, leading to yellowing leaves and overall damage. If left unchecked, this issue can worsen and set the plant back significantly, but it is possible to revive your herbs by inspecting their conditions and adjusting your care routine accordingly.
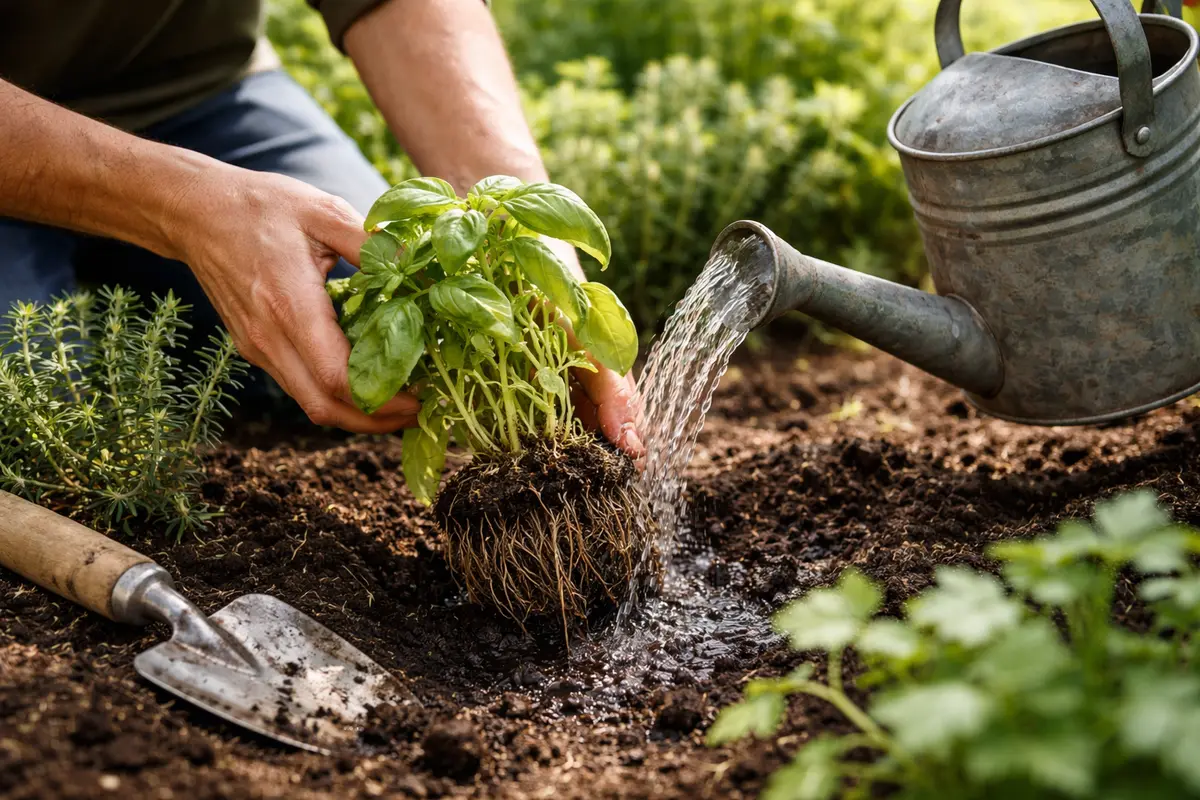
Step 1 – Water Herb Roots to Revive Quickly
Start by relocating your herbs to a more stable and suitable spot in your garden. You should notice an improvement in their immediate receptiveness, characterized by a quicker return to a more upright posture and fewer drooping leaves as they begin to acclimate better to their new environment.
Acting quickly helps the herbs recover from transplant shock due to minimized disruption to their roots and moisture levels. If you delay, the lack of stable conditions can lead to cellular damage and stress, making recovery more difficult. For example, if your herbs are experiencing yellowing leaves from being overcrowded, that can worsen rapidly if not addressed.
In one instance, a gardener waited too long to address soil compaction around their transplanted basil, resulting in stunted growth compared to a neighbor who immediately loosened the soil. A common mistake at this stage is neglecting airflow; if your herbs are crowded in the garden bed, check if nearby foliage needs thinning to enhance circulation.
Providing deep water is critical in this phase since the transplant process can disrupt the root system, leading to inadequate water uptake. Dehydrated roots often struggle, causing visible signs such as wilting, yellowing, or browning leaves. By resolving their immediate moisture needs, you encourage the roots to regain footing in their new soil, facilitating nutrient absorption. If transplanting conditions were particularly rough, swift watering might be the decisive factor in your herbs’ survival. Always confirm that excess water can escape to avoid creating a soggy environment that can further stress the roots.
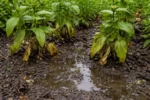
A common mistake many gardeners make is neglecting to assess soil moisture prior to watering. If the soil surface is dry but the lower layers are still wet, overwatering can instigate root rot. Conversely, if your herbs are wilting just hours after being transplanted, quickly check the moisture levels to guide you in providing optimal hydration. Insert your finger two inches deep into the soil; if it feels dry at that level, you can proceed with watering without worry. Be mindful that environmental factors like wind, sunlight, and temperature significantly influence how quickly your soil dries. Particularly on windy or hot days, evaporation can occur rapidly, necessitating routine watering adjustments.
Step 2 – Identify Causes for Transplant Shock
Examine environmental factors that could contribute to your herbs’ transplant shock. After addressing these root issues, you’ll likely notice improved leaf color and overall health. Begin by checking soil quality, moisture levels, and the conditions your herbs were previously grown in, as these elements play a pivotal role in their establishment. Shifts in light, water, or temperature conditions at the new site can have a substantial impact on recovery.
Transplant shock can stem from poor soil quality or discrepancies between previous and new growing environments. For instance, inadequate drainage can severely hinder root moisture uptake, while nutrient deficiencies can lead to overall plant decline. If your soil appears overly compacted and feels heavy, you may notice a decline in growth patterns and leaves beginning to droop. Persistent monitoring for signs such as discolored foliage or curling leaves will help indicate when corrective actions are necessary. Should the soil give off an unpleasant smell, it could signal excessive moisture levels leading to root rot.
If root rot is suspected, carefully remove the plant to inspect the roots. Healthy roots should be firm and white, demonstrating they are still viable, while mushy and brown roots indicate the need for trimming and replanting in a better-draining soil mix. Utilize a soil mix suitable for containers that contain materials like perlite to enhance drainage. Be careful not to plant the herbs in overly compacted soil, as this would further obstruct root regeneration. Applying gentle pressure to loosen the soil around the roots can help improve aeration and water penetration if the plants were recently transplanted.
Step 3 – Revitalize Dying Herbs with Nutrients
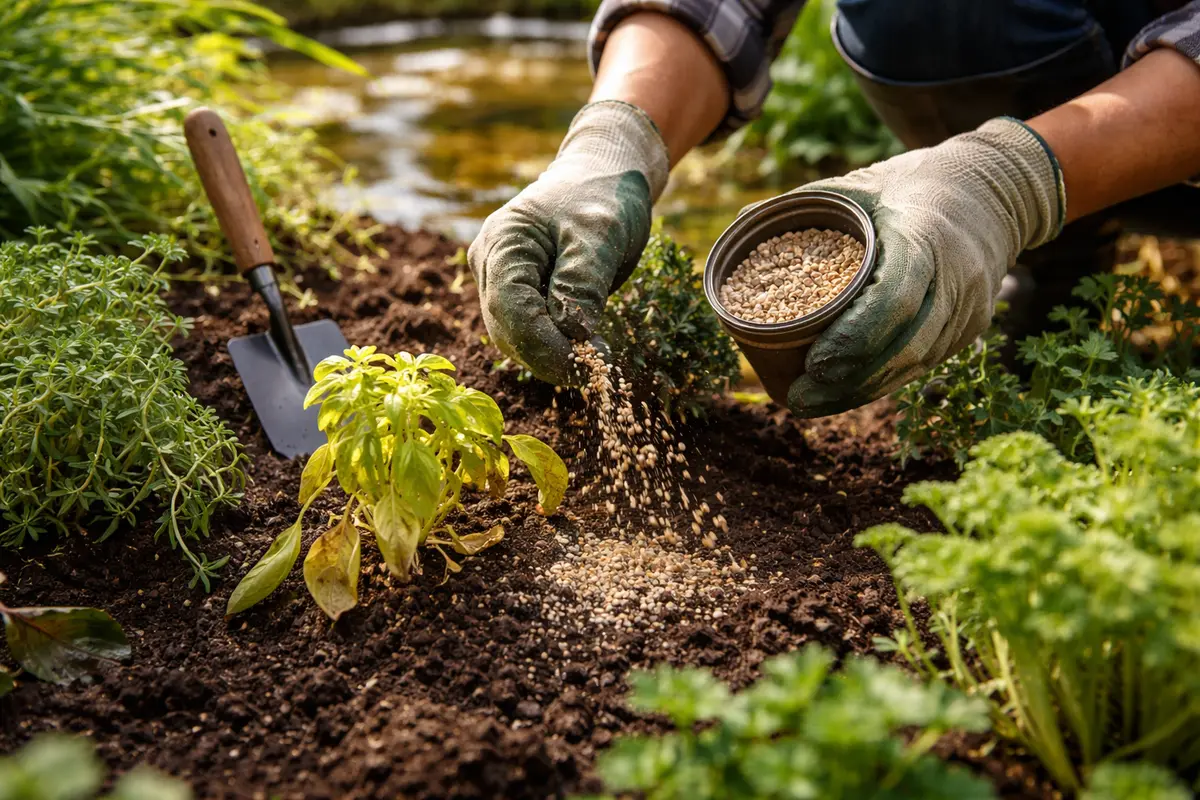
Apply a balanced liquid fertilizer to accelerate the recovery of your herb roots. Within one week, you should see new growth and signs that your plants are bouncing back from their stress. This nutrient infusion is key, as it enables your herbs to return to a healthy growth trajectory. Always follow the fertilizer instructions carefully to prevent over-application, which can create additional stress. Reducing the fertilizer concentration to half strength might be wise, especially immediately after transplanting.
Supplying nutrients during this phase is crucial—transplant shock can deplete essential elements within the plant. The right mix of nitrogen, phosphorus, and potassium is vital for encouraging leaf development and root expansion. If your soil lacks these nutrients, herbs may struggle to recover, leading to prolonged stress. Watch for signs like yellowing leaves or halted growth in older leaves, which could indicate a need to fertilize. Conducting a soil test can uncover specific nutrient deficits affecting your plant’s vitality.
A typical mistake during this nutrient application phase is overdoing it. A heavy hand with the fertilizer may paradoxically burn the plants’ roots, further stifling growth. Tailor your fertilization schedule to the type of herb; lighter consumers, such as basil, may only require feeding every few weeks, while heavier feeders may benefit from weekly applications during recovery. If you notice rapid browning or burned edges on leaves, immediately reduce fertilization and rinse the soil to minimize salt buildup. Ensuring the soil maintains adequate moisture prior to fertilizing can help dilute salts and reduce root burn risks.
Step 4 – Protect Herbs from Extreme Weather Effects
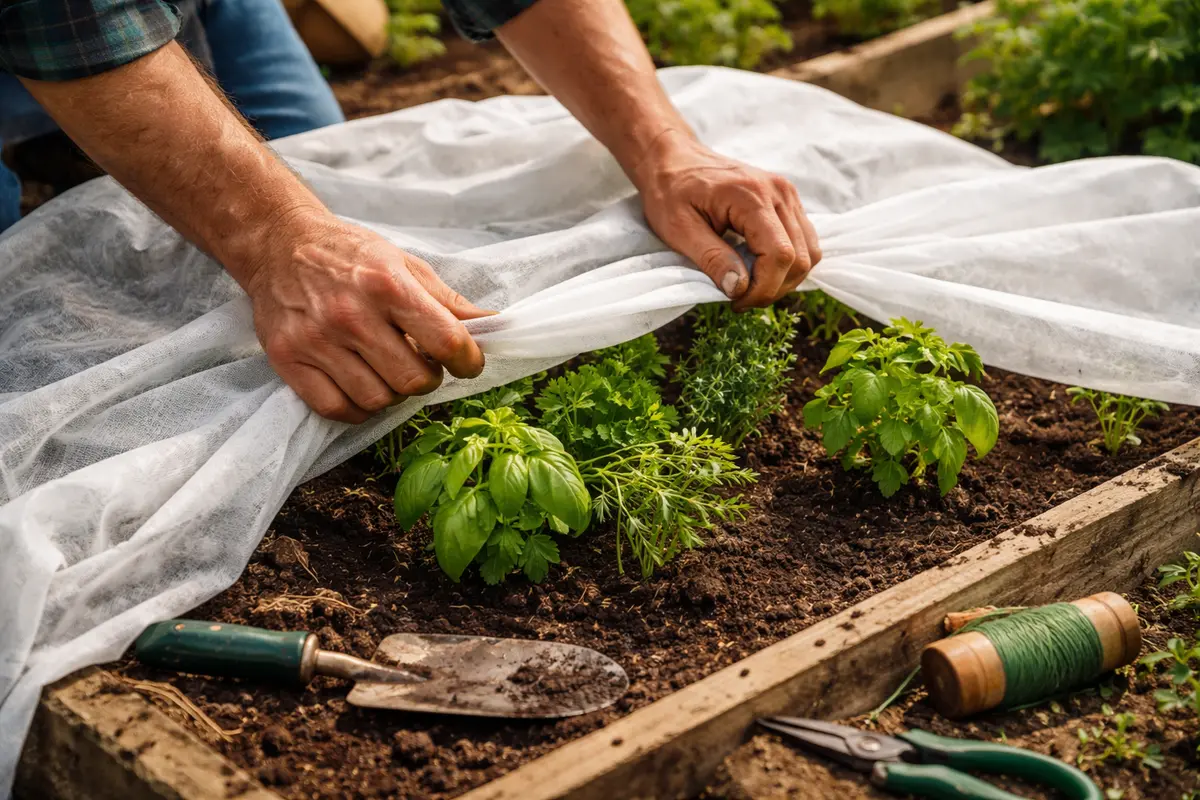
Begin by acclimating your herbs to outdoor conditions before transplanting. Gradually increase their exposure to sunlight and outdoor temperatures over a period of one to two weeks to improve their adaptability to the new environment, thereby reducing transplant shock. This is particularly essential for herbs moved outdoors from indoor settings, as they tend to be especially vulnerable to sudden environmental changes.
Herbs may struggle after transplanting due to sudden changes in temperature and light exposure. Abrupt exposure to harsh outdoor conditions often leads to wilting or developing other stress symptoms. A well-planned acclimation routine softens their transition into the new environment, addressing the root cause of their decline. Pay special attention to your herbs’ light preferences, as plants that require partial shade may suffer if placed directly in the sun without adjustment.
Be proactive about adjusting your acclimation plans as local weather changes. For example, during hotter periods, consider placing your herbs in shaded areas to avoid sunburn. In the event of leaf curling or discoloration, assess the moisture levels in the soil; inadequate hydration can exacerbate transplant stress. Wind can also pose a danger, particularly for young plants facing strong gusts; temporary windbreaks might be beneficial until they are established. Extreme weather can intensify stress by straining young plants. High temperatures lead to rapid moisture loss, while prolonged exposure to low temperatures or frost can damage tender growth. Shield your plants from high heat with shade cloth and cover them at night during cold spells for maximum protection. Investing in thermometers and soil moisture meters can also immensely help in closely monitoring your plants’ conditions.
Step 5 – Inspect Leaves for Signs of Recovery
Start by checking your herbs every few days after transplanting. Observe the soil moisture, ensuring it remains consistently moist but never soggy, and look for any wilting or yellowing of leaves. Recheck the plant’s condition weekly to note any signs of improvement, such as new leaf growth or healthier coloration.
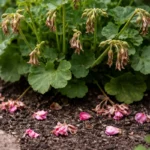
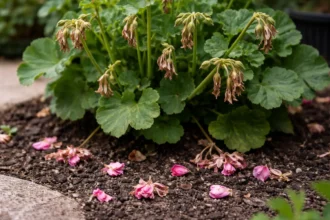
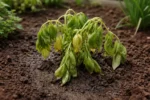
A fully recovered herb plant displays vibrant, firm leaves with a rich green color and healthy stems that feel robust to the touch. In contrast, early signs of problems returning include brown tips on the leaves and a wrinkled texture, indicating stress. If you notice drooping leaves accompanied by a lighter shade than normal, check for inadequate watering or root crowding.
If the problem returns despite following these steps, consider adjusting the watering schedule or checking for pests hiding on the underside of the leaves. If these measures do not yield positive results, it may be necessary to transplant again, this time ensuring the soil is amended for better drainage and nutrients specific to herbs.
During your inspections, focus on the new leaf growth and observe how resilient the leaves feel. Limp or discolored leaves might indicate that the herbs are still grappling with transplant shock. Conversely, fresh green foliage and firm textures show that the recovery process is successfully underway. Ensure that the new leaf growth feels firm and crisp, not wilting or soft. As your plants bounce back, leaf tips may begin uncurling, a clear signal they are adjusting to the environment. If leaf drop occurs weeks after transplanting, act quickly to troubleshoot lingering stress factors.
If no signs of improvement manifest, consider other interventions beyond your current care practices. Check your watering methods and sunlight exposure techniques again; perhaps too much sun or insufficient moisture levels are at play. Adjusting your watering schedule to provide less frequent but deeper watering can sometimes prompt a greater response. Alternatively, using mulch can support soil temperature and moisture retention. Should you notice any signs of mold or slimy textures on the soil surface, this could indicate overwatering; therefore, adjust your watering habits immediately. If stresses continue despite your adjustments, transferring a soil sample for nutrient analysis may uncover underlying problems that could be impeding recovery.
FAQ
How long does it take for herbs to recover from transplant shock?
Herbs typically take about one to three weeks to show significant signs of recovery following transplant shock. Factors like weather conditions, soil quality, and care routines contribute to this timeframe. Nonetheless, some herbs might bounce back more quickly; for instance, basil often exhibits resilience, prompting faster growth than more delicate herbs like cilantro.
Can transplant shock spread to other plants?
Transplant shock itself is not contagious; however, similar stress can occur in other plants exposed to the same transition challenges. Root rot, caused by overwatering, can affect neighboring plants if environmental conditions remain unchanged. Therefore, maintain a suitable watering routine and ensure proper drainage to minimize risks. It’s also prudent to monitor adjacent plants within similar soil and environmental conditions since stress might lead to declining health across the board.
Should I remove dead leaves from my herbs?
Yes, trimming away any dead or damaged leaves is advisable to promote healthy growth. Removing these old leaves allows your herbs to redirect their energy toward new growth, significantly enhancing overall vitality. This practice also improves airflow around the plant, helps prevent fungal meltdowns, and can improve resilience against future stresses. Whenever you trim, use sterile tools to minimize pathogen risks.