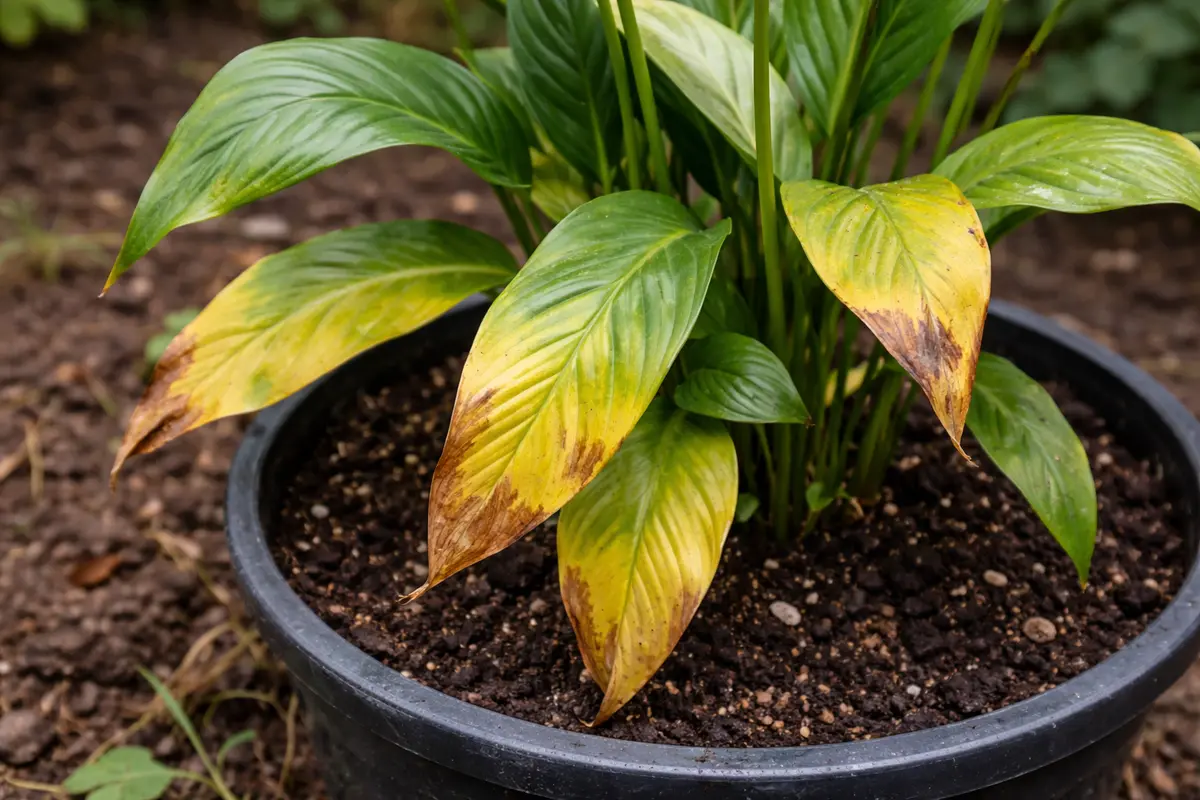
You may notice your peace lily looking less vibrant, especially when its leaves start to yellow after repotting, which is why you need to know why are my peace lily leaves turning yellow after repotting. This yellowing is often caused by stress from root disturbance or changes in soil conditions, which can lead to damage and even leaf drop. If left unaddressed, this issue can worsen and weaken the plant, making it harder to fix, but you can still take action now by checking the soil moisture and adjusting the light conditions.
Step 1 – Inspect Peace Lily Soil Moisture Immediately
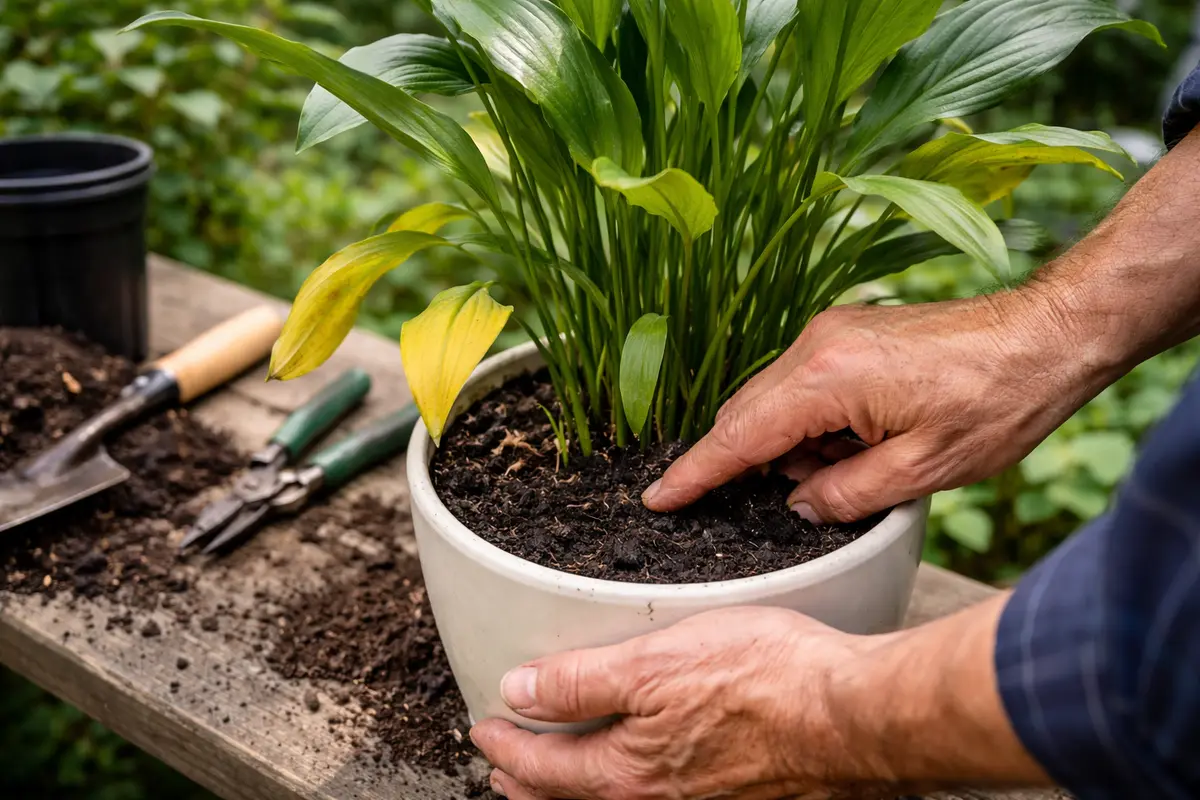
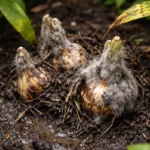
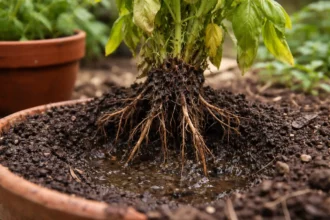
Start by removing your peace lily from its pot to examine the soil moisture and check for root health. You should see a quick change in how the roots feel and whether the soil is too wet or dry, which helps determine immediate care needs. If the soil is saturated or waterlogged, excess moisture will show as dark, mushy roots that need to be trimmed away with sterilized scissors.
Immediately repot the plant into fresh, well-draining potting mix to improve drainage and reduce stress on the plant. If the roots appear healthy and firm, yet yellowing persists, you should inspect the watering schedule to ensure the plant is not overly dry. Conversely, if the roots are dark and mushy, then root rot is likely and may have contributed to the yellowing leaves.
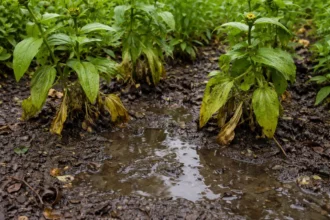
Acting swiftly to address root problems is critical since yellow leaves often denote root distress resulting from overwatering or inadequate nutrients. Delaying action can lead to further leaf yellowing and potentially complete plant collapse, as the roots may struggle to uptake essential nutrients necessary for recovery. If you notice water standing at the bottom of the pot, check that immediately to prevent additional root damage.
A common mistake is overlooking the essential inspection of soil moisture during repotting, as it can significantly impact plant health. For instance, if the soil retains too much moisture after repotting, the roots could become compromised due to rot, which may lead to irreversible damage. Conversely, if the soil feels too dry, addressing the watering situation can help avert further yellowing.
Managing environmental conditions is vital, as peace lilies are sensitive to disturbances. If it’s not a water issue, check the humidity levels surrounding your plant since low humidity can cause additional stress, worsening the yellowing leaves. Only when you stabilize the moisture content can the plant begin to recover from initial stress.
Lastly, consider relocating your peace lily away from heat sources or drafts, as environmental stress can exacerbate the yellowing of leaves. For example, placing the plant near a heat vent may introduce additional stress, leading to the symptoms worsening. Addressing conditions promptly allows for better chances of recovery, preventing the onset of further damage.
Step 2 – Diagnose Nutrient Deficiency in Leaves
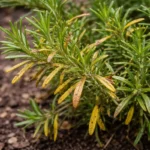
Assess the nutrient levels in your peace lily by examining its leaves for signs of nutrient deficiency such as yellowing between the veins. If you notice this pattern, it’s a clear indicator that the plant is not receiving adequate nutrients needed for growth. Immediate corrective action can lead to healthier leaves over time, as the plant can resume productive chlorophyll production. If you find yellowing on the leaf edges instead, you might be facing an over-fertilization scenario, which can be equally harmful.
Nutrient deficiencies, especially nitrogen, can manifest through yellowing leaves because nitrogen is essential for chlorophyll production. Without sufficient nitrogen, the plant can’t convert sunlight into energy, leading to decreased health and leaf discoloration. This issue often develops after repotting due to disturbed soil or nutrient washout during watering. If you suspect that the soil lacks vital nutrients, consider using a balanced, slow-release fertilizer to help replenish the soil’s nutrient content; typically, a 10-10-10 formula is effective for peace lilies. Observe the plant’s growth response over the next couple of weeks as a gauge of the effectiveness of your intervention.
If the yellowing is more pronounced at the tips rather than between the veins, this might indicate over-fertilization instead—requiring a different method for correction. In such cases, you should flush the soil with water by watering thoroughly to allow water to run through the pot for several minutes. This process helps wash away excess salts that could be causing leaf tip burn. Pay close attention for signs of improvement, as a gradual return to normal coloration and aesthetics can take several weeks. If you act on nutrient deficiencies early, your peace lily can return to a better state more effectively. Just remember, timing is essential: start this corrective measure as soon as you notice symptoms to facilitate faster recovery.
Step 3 – Rehydrate Peace Lily for Revitalization
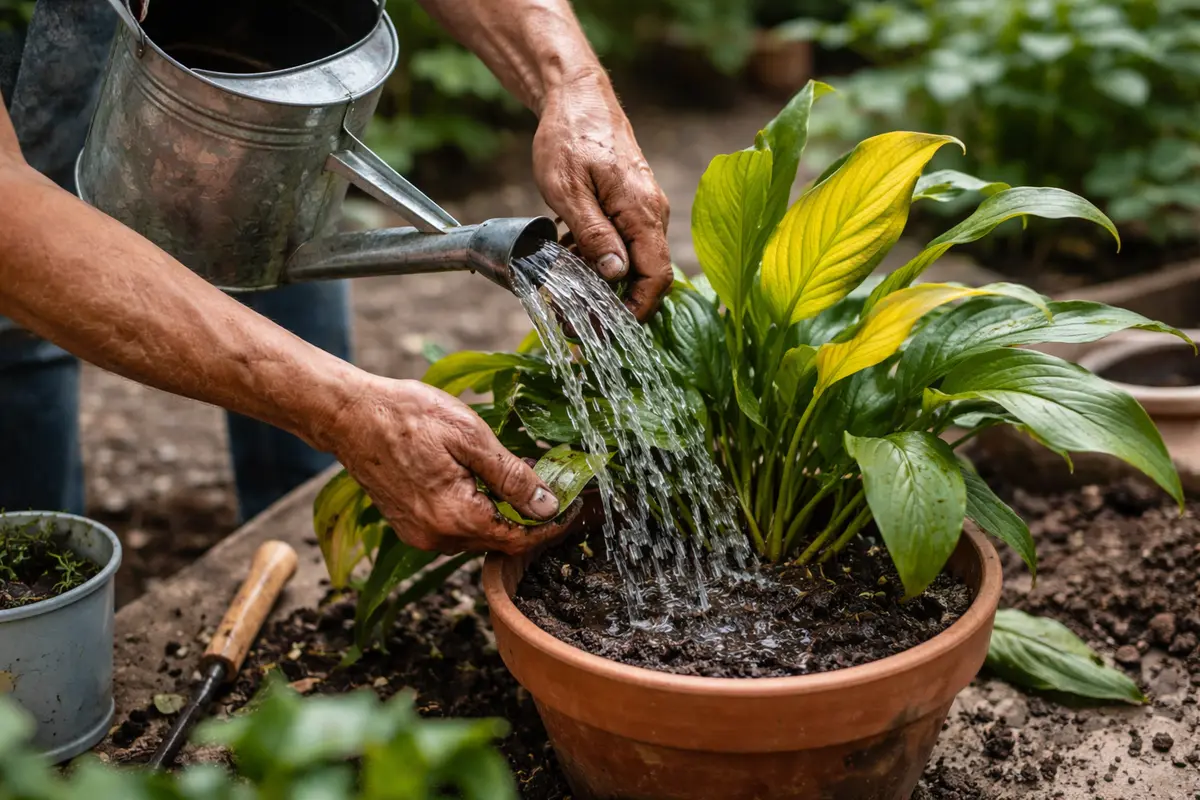
Start by thoroughly checking the soil moisture level: ensure the top inch is dry before watering your peace lily again. Within a week, you should notice a gradual green resurgence in the leaves, signaling the plant’s recovery from stress. Consistent monitoring is essential in this phase to ensure optimal moisture levels.
Recovery begins when you establish a balanced watering routine; this method prevents both overwatering and underwatering, which are common during recovery. Visible signs of improvement will include the emergence of healthy, vibrant leaves, contrasting with any lingering yellowing. Typically, the timeline for noticeable changes can span from a few weeks to two months, depending on conditions such as humidity and light exposure.
If yellowing leaves still appear after a week, check light conditions—peace lilies thrive in bright, indirect sunlight. Additionally, ensure the plant stays in well-draining potting mix, as poor drainage can hinder recovery. If not improving, consider your watering technique; adjusting frequency based on soil moisture is crucial.
A mistake to avoid is overwatering, which can exacerbate root stress and lead to potential root rot. If you see wilting despite moisture checks, this could be a clue that your soil still retains water. Rehydration improves nutrient absorption and restores photosynthesis. Healthy regrowth should include dark green leaves unfurling, symbolizing a positive trend. Conversely, if the leaves show no signs of recovery after 4 to 6 weeks, investigate for signs of root rot or other drainage issues.
To sustain recovery, refrain from fertilizing for at least a month after repotting. Feeding too early can stress the roots further. Instead, observe the overall condition of your peace lily. If the yellowing persists beyond a month, re-evaluate care routines, ensuring that watering and environmental conditions align with the plant’s needs. Effective rehydration combined with careful observation will facilitate a swift recovery process.
Step 4 – Avoid Overwatering After Repotting

Start by establishing a consistent watering schedule based on soil moisture levels. This habit ensures the peace lily’s roots receive the right amount of water, preventing yellowing leaves and stress. Begin by checking the top inch of soil; if it feels dry, it’s time to water.
To prevent overwatering, adopt a routine of watering only when the top inch dries out. For best results, water your peace lily once a week during the warmer months and reduce frequency to every 10 to 14 days in winter. If you notice the leaves starting to droop alongside yellowing, this indicates overwatering, and you should check your soil’s moisture immediately.
Ensure the pot has drainage holes that allow excess water to escape after watering. If these holes are blocked, adjust the potting setup or transfer the plant to a container with better drainage. Furthermore, use a well-draining potting mix specifically designed for tropical plants, enhancing moisture retention without suffocating the roots.
Regularly inspect the plant: if the leaves begin curling or display soft spots, contrasting with healthy, firm foliage, take immediate action to reassess watering habits. Shift to a schedule of monitoring soil moisture twice a week during the cooler months, ensuring that water isn’t left standing in the saucer.
Finally, if your peace lily is located in a high-humidity area, factor this into your watering practice—humid conditions might mean you need to water less frequently than in drier environments. Conversely, if yellowing occurs with a routine that’s consistent in a dry climate, consider adjusting the care by introducing a misting regimen or pebble trays to maintain moisture without compromising the roots.
Step 5 – Check Leaves for Recovery Signs Weekly
Monitor your peace lily weekly for signs of recovery by observing the new growth and color changes in the leaves. Take note if leaves begin to return to a deeper green hue and new shoots emerge; this is a promising sign that your corrective measures are working. This ongoing check-in helps you catch potential issues before they escalate, allowing you to make timely adjustments to your care regimen while the plant rebounds back to health.
A recovered peace lily will show signs such as firm, deep green leaves and potentially new growth demonstrated through fresh shoots or blooms. If the leaves begin yellowing again, promptly inspect the soil moisture and nutrient levels. Recovery can take time, and identifying the right conditions will either validate your care or alert you to underlying issues; for example, if new leaves begin yellowing, it might signal another round of nutrient deficiency or the presence of pests lurking beneath the surface.
If you notice recurring yellow leaves despite taking corrective action, inspect the plant closely for pests that may not be immediately visible, like spider mites or mealybugs. These pests can compromise plant health significantly, contributing to symptoms you have already been monitoring. Using insecticidal soap or neem oil as a treatment protocol may be beneficial in addressing infestations without harming the plant further. Sometimes, problems linger beneath the surface, requiring you to investigate thoroughly to ensure your peace lily can thrive. If issues persist after your modifications, consulting a professional may be the most effective route, especially for advanced problems that may require more intensive intervention or specialized care.
FAQ
How long will it take for my peace lily to recover from yellowing leaves?
The recovery timeframe for your peace lily can vary, but generally, you may start noticing improvements within 1-2 weeks. With proper care, such as maintaining humidity levels and consistent watering, new growth should appear as a sign of recovery. If conditions are optimal, you could even see visible improvement in leaf health within just a few days following corrective actions.
Can yellowing leaves spread to other plants if not addressed?
Yellowing leaves from a peace lily may indicate a broader issue like a pest infestation or fungal disease. If left unaddressed, these issues can potentially spread to nearby plants, making it vital to tackle the underlying cause quickly. Therefore, regularly inspecting not just the peace lily, but also surrounding plants, is imperative if you notice any signs of distress or similarity in care issues.
Should I remove the yellow leaves from my peace lily?
Yes, pruning the yellowing leaves can help redirect the plant’s energy toward healthier growth. However, wait until you’ve addressed the root causes of the yellowing to ensure that new leaves can grow without the same issue recurring. Removing affected leaves can also improve airflow around the plant, thus reducing the risk of decay and making subsequent monitoring easier.